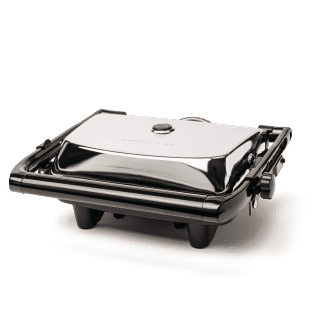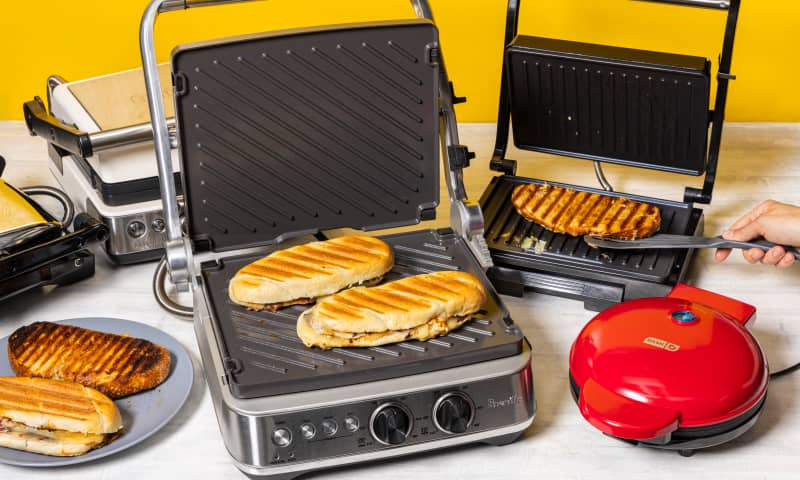
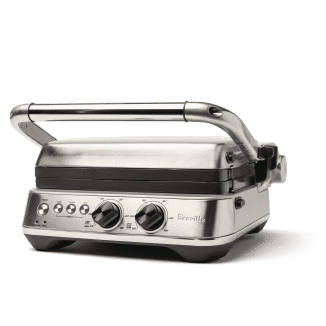


You may not need a panini press, but a good one makes toasting sandwiches and grilling indoors so simple that you’ll find yourself reaching for it. Our winner, the Breville Sear & Press Grill, browned deeply as a panini press, grill, and griddle, with user-friendly controls. Its ceramic nonstick plates flip to offer ridged or flat cooking surfaces (waffle plates sold separately) and pop out for cleaning. At a fraction of its price, our Best Buy Proctor Silex Panini Press, Sandwich Maker and Electric Indoor Grill didn’t open flat or have removable plates, but it browned food beautifully, with tall ridges that made crisp grill marks, a slanted base and cup that collected grease, and a wipe-clean nonstick surface. If you just want to dip a toe into the panini-press pool, the bargain-priced Dash Express Griddle, an 8-inch round model with flat rather than ridged surfaces, was a delightfully simple performer: light, compact, and easy to use and clean.
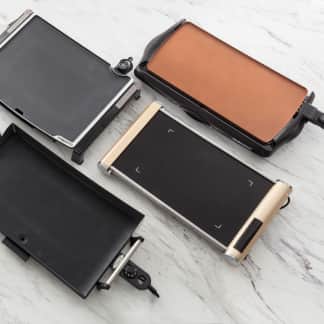
In Italian, panini does not refer to a single sandwich—it’s the plural of panino, which means “bread roll” or “sandwich.” In Italy, while panini are often pressed and grilled, they aren’t always, nor do they always have grill marks. Panini presses, also called electric sandwich makers or contact grills, are clamshell-shaped appliances that close around sandwiches and other foods to cook them, typically adding grill marks. We tested presses priced from about $20 to about $300. Higher-priced models offer more features. Their nonstick-coated metal cooking plates (sometimes coated in PTFE-free ceramic) pop out for cleaning and flip between ridged and smooth surfaces; waffle plates may be included or sold separately. They have receptacles for dripping grease and open flat to become a griddle, sometimes with separate temperature controls for each half.

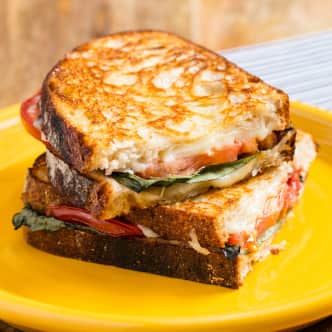
In Italy, panini can be pressed and grilled, but they aren’t always, nor do they always have grill marks. Our Ham, Brie, and Apple Panini (left) have marks from a ridged panini press, but the Caprese Panini (right) were made on a press with flat plates.
At lower prices, models don’t open flat and offer only ridged surfaces. Their nonstick plates (usually not ceramic) are not removable and must be wiped clean; some have no fat drainage. They offer no controls, simply turning on when plugged in. The least expensive model we tested has smooth, round fixed plates and no frills.
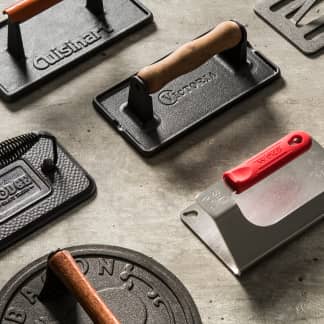
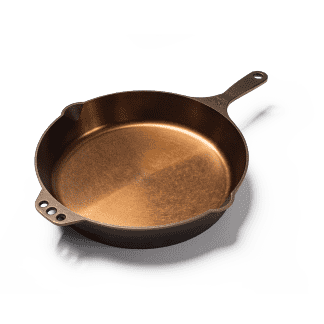
During testing we learned which features mattered. But first, we should point out that you can cook similar foods without a panini press. In the test kitchen, we’ve used stovetop grill pans or regular cast-iron skillets plus readily available tools such as our winning grill press or even just a heavy Dutch oven, to produce crisply toasted panini and other indoor grilled foods.
That said, electric panini presses are fun and convenient. If you have limited kitchen space or own few appliances or pieces of cookware, they can offer versatility in one machine. A panini press could replace a grill pan, waffle iron, and griddle and can pinch hit for a skillet. You can make grill marks and cook many things—vegetables, proteins, desserts, and more—not just sandwiches. The model you choose can be deluxe or bare-bones and still provide great functionality, depending on your needs. After hours of testing, here’s what we learned.
What to Look For
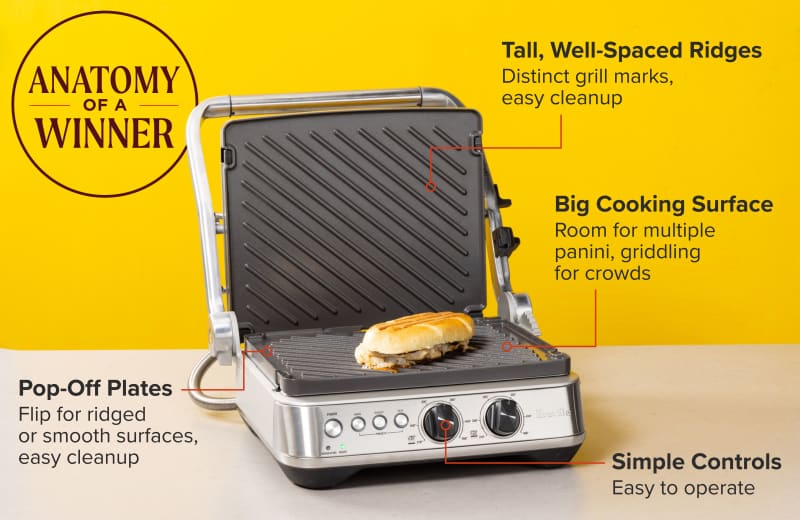
- Tall, Well-Spaced Ridges: For crisp, distinct grill marks, seek presses with taller ridges. The best were 0.125 to 0.25 inches tall. More space between ridges not only produces better-looking food but also makes presses easier to clean; our favorites’ ridges were spaced 0.5 inches apart.
- Consistent Heat: Machines that stayed hotter worked faster and browned better than models that cycled on and off with big temperature swings.

- Floating Hinges: A “floating” top plate moves up and down to adjust space between the hot grill plates and fits tall, bulky foods better than a fixed hinge. Lids whose floating hinges moved smoothly, rather than stiffly, were easier to adjust and safer to handle.

- Simple Controls: Lower-cost models had no controls, turning on when plugged in, but some higher-end models with controls were overly complicated. We liked simpler displays and bright lights to indicate when the press was ready to cook.
- Grease Collectors: We preferred models that drained grease efficiently with sloped surfaces and bigger holes.

Nice to Have
- Angled Ridges: Only our winner had diagonal ridges (not front-to-back) for jaunty grill marks no matter how food was placed; this also made food less likely to slide forward as the lid closed.

- Removable, Flippable Cooking Plates: While it wasn’t a dealbreaker, plates with smooth and ridged surfaces provided options. They were also easy to clean in the sink.
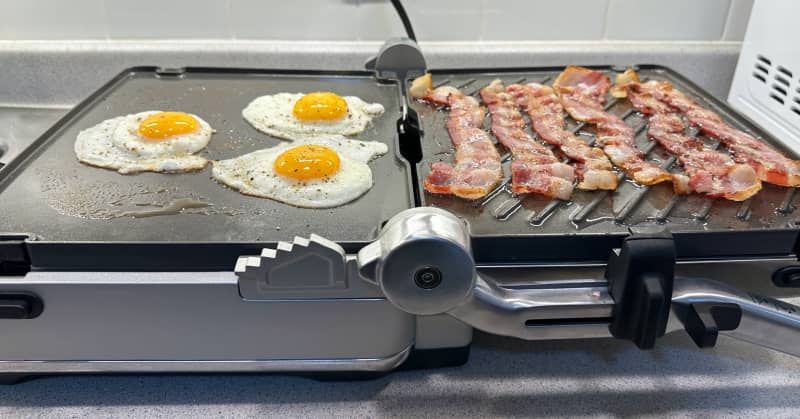
- Opens to Griddle: We enjoyed the flexibility of presses that could open flat to become a griddle for cooking lots of food. That said, we griddled small portions successfully on presses that didn’t unfold flat. (We cooked an egg sandwich, frying bacon and an egg on the bottom half of the press before adding cheese and then pressing the assembled sandwich.)
- Separate Temperature Controls: In higher-end models that opened as griddles, we preferred those with separate temperature controls for top and bottom plates.
- Adjustable Temperature: Rather than simply being on or off, adjustable models offered flexibility and customizable cooking.
What to Avoid
- Low, Cramped Ridges: For good grill marks, avoid shallow ridges. Tightly spaced ridges where food gets stuck are harder to clean.

- Flimsy Parts: We disliked signs of poor construction such as wiggly controls or removable cooking plates that either fell out or got stuck and wouldn’t pop out.
- Confusing Controls: It’s a panini press; it should be simple to operate.

- Inconsistent Cooking: A model that kept cycling off for long periods took longer to cook.
- Stiff Hinges/Hot Lids: Floating hinges that moved stiffly were a menace; they needed a poke on the often searing-hot lid to flatten over food.
- Poor Drainage: We preferred models with sloped cooking surfaces that kept fat from pooling and splattering, instead diverting it into neat collection cups.
Other Considerations
- Waffle Plates: These are a nice plus if you don’t have a waffle iron.
- Type of Nonstick Coating: Every panini press we tested came with nonstick coating on its cooking surfaces. Some were traditional PTFE-based, others ceramic. All of the presses's maximum temperatures remained below 450 degrees, except for one that topped out at 473 degrees, so none became hot enough to cause traditional PTFE-based nonstick coatings to emit harmful fumes, which happens at temperatures above 500 degrees. We saw no performance differences between the two types of nonstick coatings on cooking surfaces.
- Size and Storage: Some, especially higher-end models, were bulky and heavy. Unless you cook for crowds, consider a compact model. Some small models can be stored upright.
The Tests
- Grill slices of white sandwich bread to compare evenness of browning
- Grill one Ham and Cheese Panini
- Grill chicken breasts, then make into pair of sandwiches on bulky sub rolls for Chicken and Roasted Red Pepper Panini
- Griddle Easy Pancakes, fried eggs, and bacon
- Clean after each test according to manufacturer instructions
- Do additional cooking with high-ranked models
How We Rated
- Performance: We evaluated presses on their ability to produce evenly heated, crisp sandwiches and food with distinct grill marks or good surface browning and fully heated interiors; for models with griddles we rated the quality of food produced.
- Ease of Use: We considered how simple and intuitive the controls and design of the machines were and whether they were easy and comfortable to use.
- Cleanup/Durability: We assessed how easy models were to clean and maintain in good condition, the sturdiness of their construction, and whether their condition deteriorated during testing.